Understanding the Gimble: Features and Benefits
What is a Gimble?
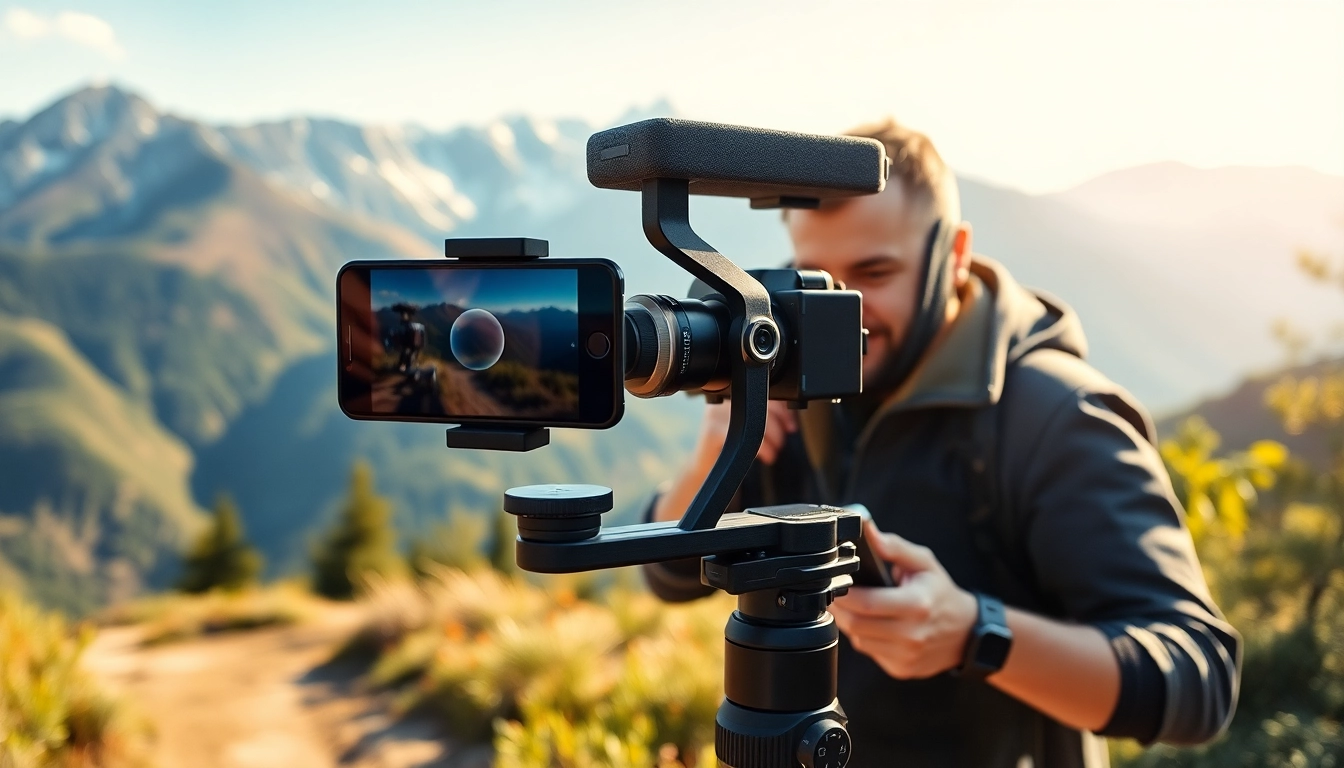
The term gimble refers to a device used to stabilize cameras or smartphones, allowing for smooth and steady video recording. By providing a balanced pivot system, it minimizes unwanted shakes and jitters, ensuring that your footage appears professional-grade. The mechanics behind a gimble involve intricate engineering to maintain balance and stability, which contributes to the creation of visually appealing content.
Key Features of a Gimble
When selecting a gimble, several key features make a noticeable difference in usability and performance. Here are some vital aspects to consider:
- Stabilization System: Most gimbals come equipped with an electronic or mechanical stabilization system, usually a 3-axis setup, allowing for smooth panning, tilting, and rolling movements.
- Weight Capacity: The ideal gimble should accommodate not only smartphones but also action cameras and mirrorless systems, making it versatile for various filming needs.
- Compatibility: Ensure the gimble is compatible with your device, whether it’s an iPhone, Android, or action camera, offering an easy mounting process.
- Smart Tracking: Some modern gimbals feature intelligent tracking, allowing you to capture dynamic scenes effortlessly, useful for shooting fast-moving subjects.
- Battery Life: Long battery life is crucial for extended shooting sessions. A good gimble should provide several hours of operational time on a single charge.
- Additional Features: Features such as in-built LED lights, remote controls, and filming modes (e.g., time-lapse, panorama) can enhance the overall experience.
Benefits of Using a Gimble for Video Recording
The benefits of utilizing a gimble are multifaceted and can elevate the quality of your video productions dramatically:
- Smoother Footage: The primary advantage is achieving ultra-smooth video outputs, eliminating jitters and shakes caused by unsteady hands.
- Enhanced Creativity: With flexibility in movement, filmmakers can experiment with various angles and styles, adding creative flair to their projects.
- Professional Quality: Gimbals help produce cinema-quality shots even from lightweight devices, making them essential tools for content creators, vloggers, and filmmakers.
- Portability: Most gimbals are compact and lightweight, making them convenient for travel and on-the-go shooting.
- Streamlined Workflow: Efficient setups and operation lead to a more streamlined workflow, saving time during shoots and in post-production.
How to Choose the Right Gimble for Your Needs
Types of Gimbles Available
When diving into the world of gimbals, it’s essential to understand the various types available in the market:
- Smartphone Gimbals: Specifically designed for smartphones, these gimbals are often lightweight and feature smart tracking capabilities ideal for amateur and professional users.
- Camera Gimbals: Meant for larger cameras, these gimbals often have more complex stabilization systems to support the weight of DSLRs and mirrorless systems.
- Action Camera Gimbals: Compact and tough, these gimbals are designed to withstand the rigors of action applications, often featuring robust mounting options.
Factors to Consider When Choosing a Gimble
Choosing the right gimble requires careful consideration of several factors to ensure you find the perfect match for your needs:
- Usage: Identify what you will primarily use the gimble for—a vlog, films, or action shots. This affects the features you’ll need.
- Budget: Gimbals are available across a wide price range. Determine how much you are willing to invest based on your usage and required features.
- Ease of Use: Look for gimbals that offer intuitive controls and clear instructions. This is particularly important for beginners.
- Build Quality: A durable build is essential, especially for outdoor ventures. Ensure the materials used are strong enough to withstand various environments.
- Reviews and Comparisons: Check customer reviews and professional comparisons to understand the performance and reliability of specific models.
Budgeting for Your Gimble Purchase
Establishing a budget for your gimble purchase can help narrow down options and prevent overspending. Consider the following:
- Entry-Level Models: If you are new to video production or shooting, entry-level gimbals can cost anywhere from a few hundred while remaining user-friendly.
- Mid-Range Options: Mid-tier models may introduce better stabilization features and additional functions for aspiring filmmakers.
- Professional-Level Gimbals: Professional gimbals with powerful stabilization, multiple mounting options, and advanced features reach higher price points but offer enhanced performance.
Setting Up Your Gimble: A Step-by-Step Guide
Initial Setup and Calibration
Setting up your gimble correctly is vital for optimal performance. Here’s a step-by-step guide to get started:
- Unbox and Identify All Parts: Ensure that you have all components, including the gimble, mounting plate, battery, and any supplementary accessories.
- Charge the Gimble: Fully charge your gimble before the first use, according to the manufacturer’s instructions.
- Calibration: Most gimbals require calibration. Follow the manufacturer’s guide to calibrate the gimble for your specific camera or smartphone.
- Firmware Updates: Check for firmware updates that might improve performance or introduce new features.
Mounting Your Smartphone or Camera
Once the initial setup is complete, mounting your device is the next critical step:
- Attach the Mount: Securely attach the mounting plate to your camera or smartphone, ensuring it’s aligned correctly.
- Balance the Gimble: This is essential to prevent the motors from overworking. Adjust the position until the device remains level when the gimble is powered off.
- Test Stability: With the device mounted, power on the gimble and check for immediate stability adjustments.
Adjusting Settings for Optimal Performance
To get the best performance from your gimble, customization is crucial:
- Set the Modes: Explore the different modes (like follow mode, lock mode) that the gimble offers to see what fits your shooting style.
- Adjust Speed Settings: Fine-tune the speed of movements based on your shooting needs; faster settings for dynamic shots and slower for more controlled scenes.
- Utilize Tracking Features: If your gimble has tracking capabilities, experiment with them to understand how to capture moving subjects effectively.
Techniques for Using a Gimble Effectively
Basic Camera Movements and Angles
Learning fundamental movements will enhance your shooting technique significantly. Here are some basic camera maneuvers to try:
- Panning: Rotate the camera horizontally to capture expansive scenes or follow moving subjects smoothly.
- Tilting: Adjust the camera vertically for dramatic effects or to capture tall structures.
- Roll Shots: Roll the camera left or right for dynamic movement, ideal for dramatic footage.
- Dolly Zoom: This effect involves moving closer to or further from a subject while zooming, creating dramatic visual impact.
Advanced Techniques for Creative Shots
Once comfortable with basic movements, dive into more advanced techniques:
- Crane Shots: Raise the gimble high and smoothly lower it to create an impressive transition within a scene.
- Reveal Shots: Use foreground objects to reveal subjects gradually as you move through the scene.
- Time-lapse and Hyperlapse: Use the gimble’s features to shoot static scenes over time or when moving to create mesmerizing sequences.
Common Mistakes to Avoid with a Gimble
Learning to use a gimble can come with challenges. Here are some pitfalls to avoid:
- Neglecting to Balance: Failing to balance your device properly can cause strain on motors, leading to inefficient performance.
- Ignoring Firmware Updates: Not updating firmware can result in missed enhancements and performance optimizations.
- Overusing Tracking Features: Using tracking features indiscriminately can lead to mechanical issues and erratic movements.
- Forgetting to Practice: Without practice, you may not fully grasp the capabilities and limits of your gimble, hindering your potential as a creator.
Enhancing Your Video with a Gimble
Editing Tips for Gimble Footage
After capturing footage, post-production becomes crucial for maximum impact. Here are some editing tips to enhance your gimble footage:
- Stabilization Software: Even with a gimble, some shots may still require stabilization software adjustments in post-production.
- Color Grading: Apply color correction and grading to give your footage a professional look that aligns with your vision.
- Cutting for Flow: Ensure your edits promote a seamless narrative and flow, transitioning between shots smoothly.
Incorporating Music and Sound Effects
Sound plays a pivotal role in storytelling. Here’s how to enhance your video further:
- Selecting the Right Music: Choose music that complements the mood and pacing of your footage, elevating viewer engagement.
- Utilizing Sound Effects: Add sound effects to enhance realism or emphasize actions within your video, making it more immersive.
- Balancing Audio Levels: Ensure that dialogue, music, and sound effects are well-balanced for a professional audio mix.
Sharing Your Videos with the World
Once your video is edited, it’s time to share it. Consider the following options:
- Social Media Platforms: Utilize platforms like Instagram, YouTube, or TikTok for widespread reach. Tailor content to suit each platform’s audience.
- Engaging with Your Audience: Encourage comments and interactions on your videos. Engage with your viewers to build a community around your content.
- Monitoring Analytics: Keep an eye on video performance through analytics to gauge success and areas for improvement in future projects.